
頂層視窗管理
頂層視窗管理
Compose Multiplatform for desktop 提供了多種管理視窗的功能。你可以將視窗隱藏到系統匣、 使其可拖曳、自適應大小、變更位置等等。
另請參閱新的實驗性 視窗與對話方塊 API v2。
undefined
開啟與關閉視窗
你可以使用 Window() 函式來建立一個常規視窗。要將其放入可組合作用域中,請在 application 入口點中使用 Window():
import androidx.compose.ui.window.Window
import androidx.compose.ui.window.application

fun main() = application {
    Window(onCloseRequest = ::exitApplication) {
        // 視窗內容
    }
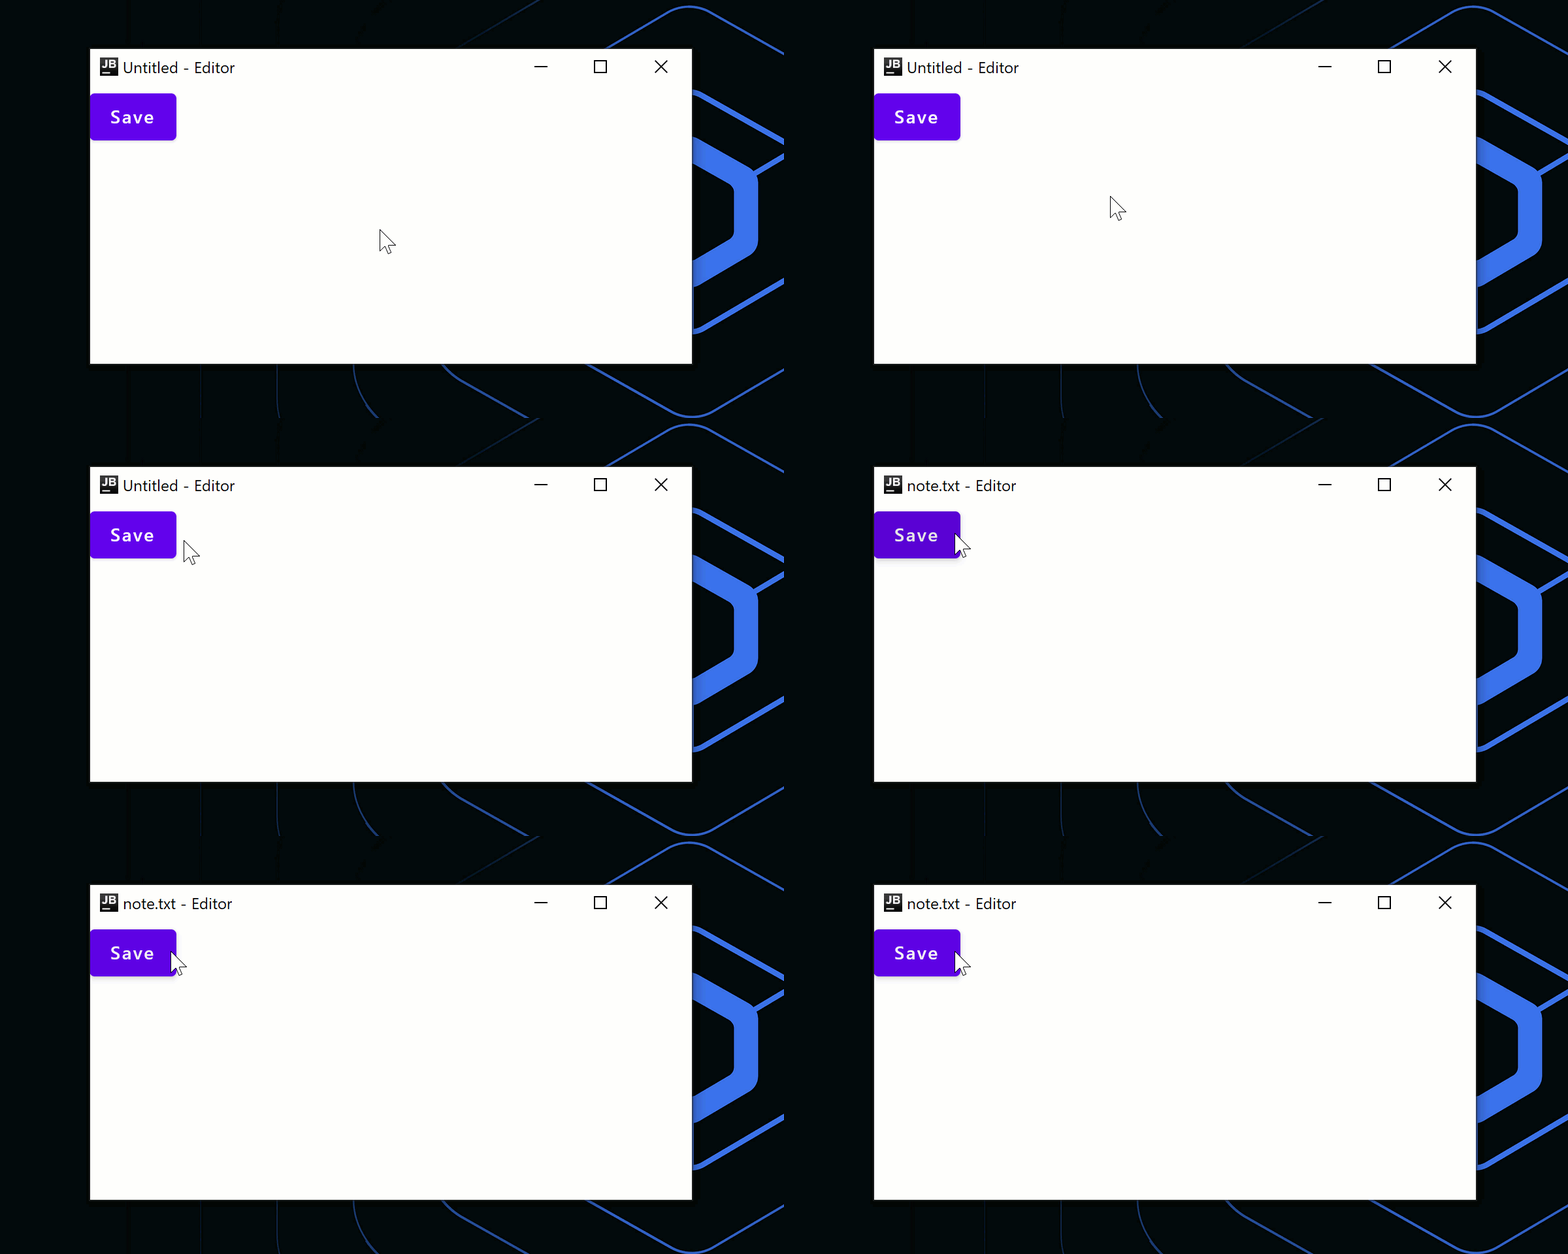
}作為一個可組合函式,Window() 允許你以宣告式的方式變更其屬性。例如,你可以開啟一個具有特定標題的視窗,稍後再變更該標題:
import androidx.compose.material.Button
import androidx.compose.material.Text
import androidx.compose.runtime.getValue
import androidx.compose.runtime.mutableStateOf
import androidx.compose.runtime.remember
import androidx.compose.runtime.setValue
import androidx.compose.ui.window.Window
import androidx.compose.ui.window.application

fun main() = application {
    var fileName by remember { mutableStateOf("Untitled") }

    Window(onCloseRequest = ::exitApplication, title = "$fileName - Editor") {
        Button(onClick = { fileName = "note.txt" }) {
            Text("Save")
        }
    }
}
新增條件
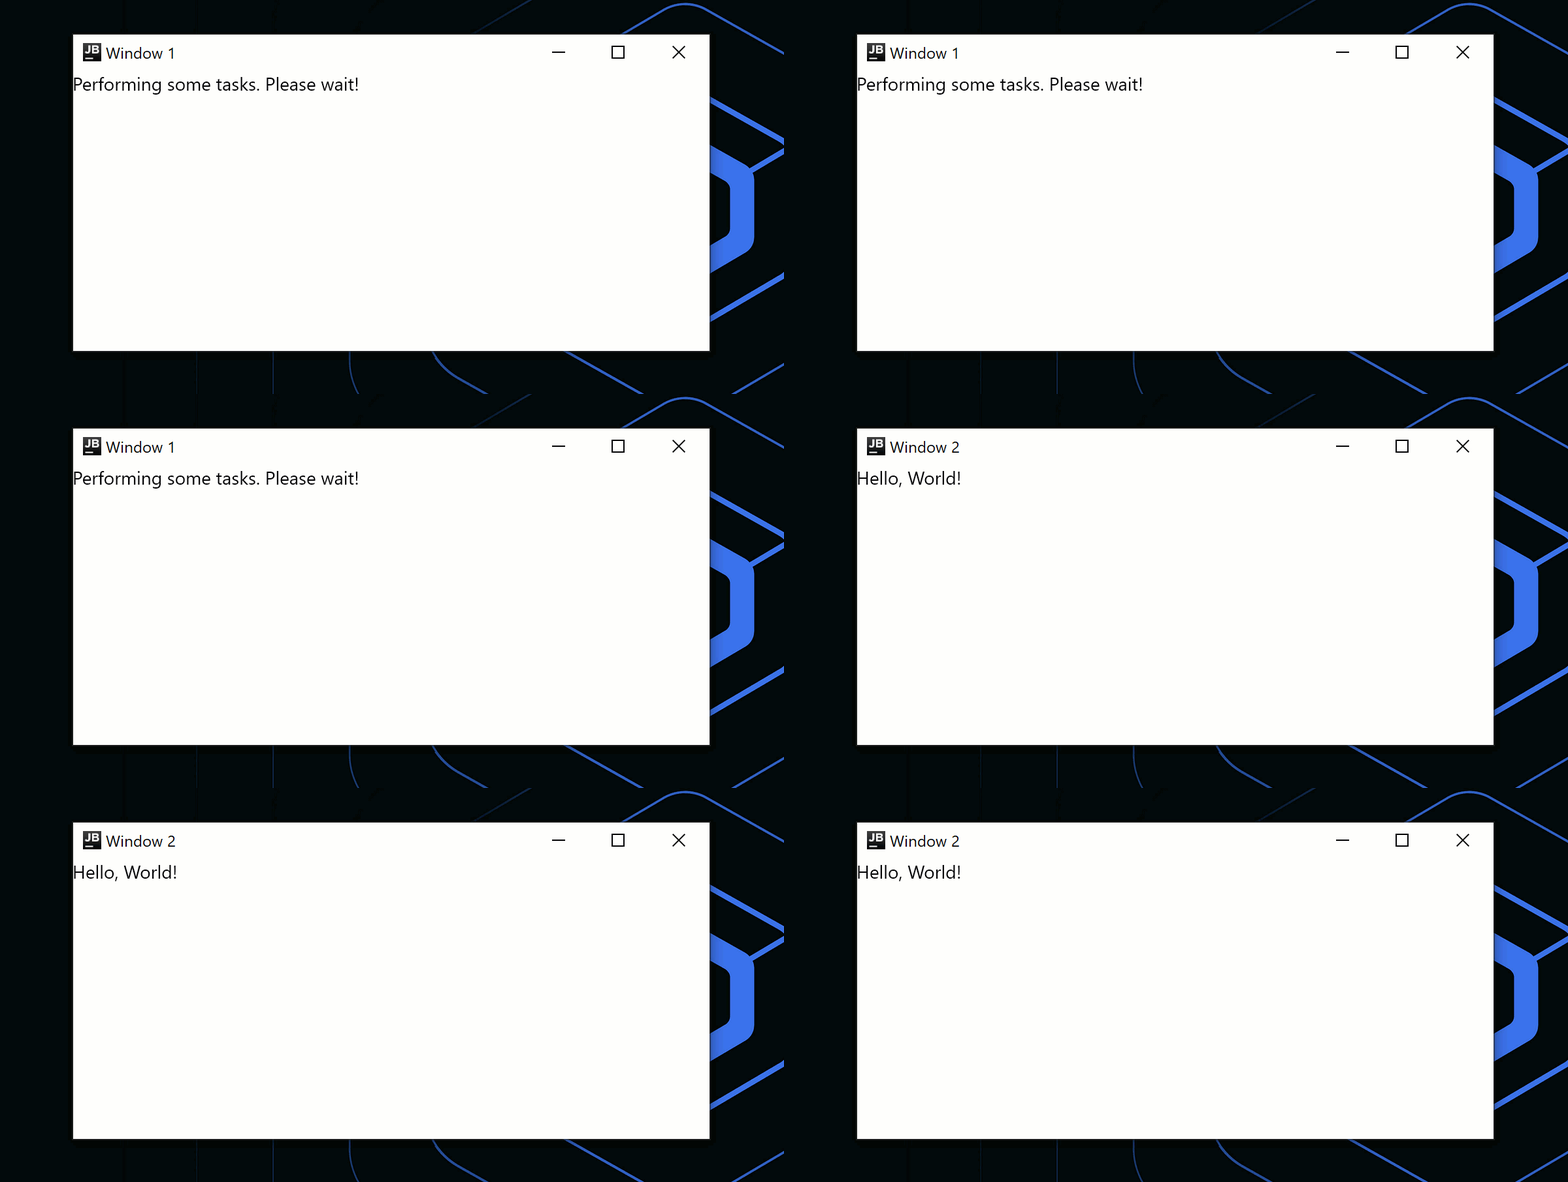
你也可以使用簡單的 if 條件來開啟與關閉視窗。在下方的程式碼範例中,應用程式視窗會在完成任務後自動關閉:
import androidx.compose.material.Text
import androidx.compose.runtime.LaunchedEffect
import androidx.compose.runtime.getValue
import androidx.compose.runtime.mutableStateOf
import androidx.compose.runtime.remember
import androidx.compose.runtime.setValue
import androidx.compose.ui.window.Window
import androidx.compose.ui.window.application
import kotlinx.coroutines.delay

fun main() = application {
    var isPerformingTask by remember { mutableStateOf(true) }

    LaunchedEffect(Unit) {
        // 執行一些繁重的工作
        delay(2000)
        isPerformingTask = false
    }
    if (isPerformingTask) {
        Window(
            onCloseRequest = ::exitApplication,
            title = "Window 1"
        )
        {
            Text("Performing some tasks. Please wait!")
        }
    } else {
        Window(
            onCloseRequest = ::exitApplication,
            title = "Window 2"
        ) {
            Text("Hello, World!")
        }
    }
}
在關閉時要求確認
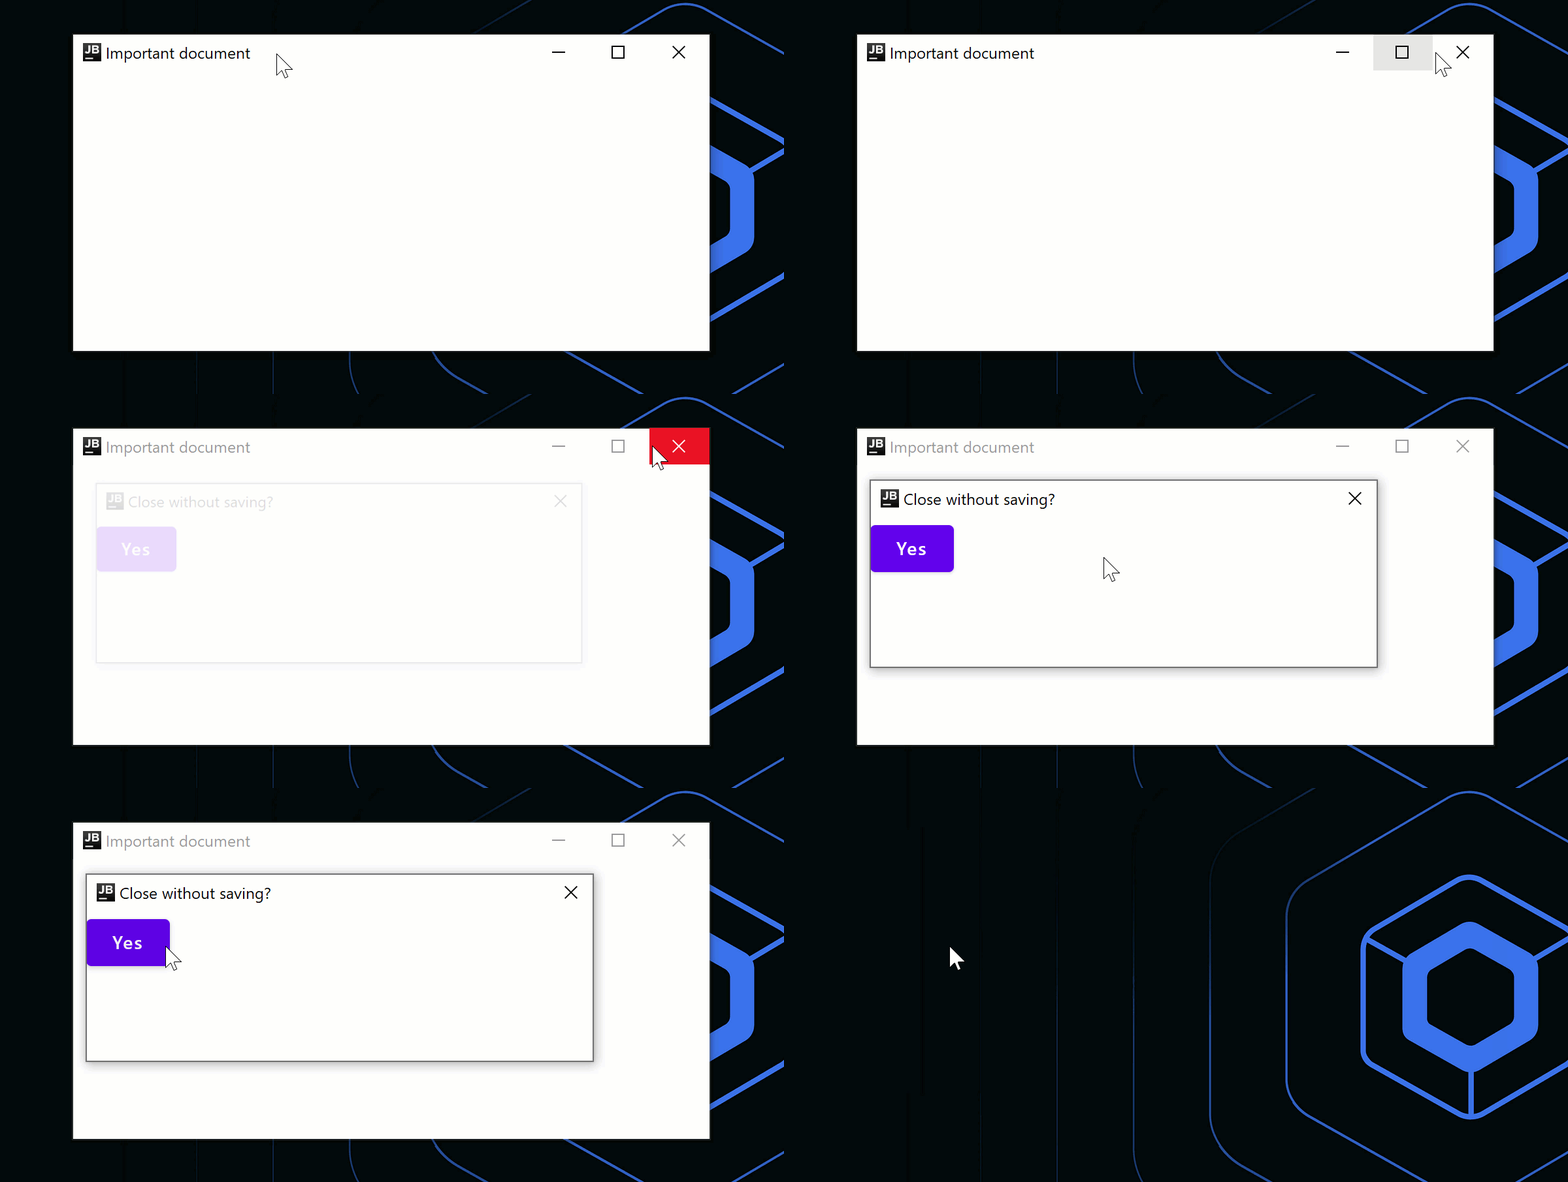
如果你想在應用程式結束時使用自訂邏輯(例如顯示對話方塊),可以使用 onCloseRequest 回呼來覆寫關閉操作。 在下方的程式碼範例中,我們不使用命令式方法 (window.close()),而是使用宣告式方法,並根據狀態變更 (isOpen = false) 來關閉視窗。
import androidx.compose.material.Button
import androidx.compose.material.Text
import androidx.compose.runtime.getValue
import androidx.compose.runtime.mutableStateOf
import androidx.compose.runtime.remember
import androidx.compose.runtime.setValue
import androidx.compose.ui.window.DialogWindow
import androidx.compose.ui.window.Window
import androidx.compose.ui.window.application

fun main() = application {
    var isOpen by remember { mutableStateOf(true) }
    var isAskingToClose by remember { mutableStateOf(false) }

    if (isOpen) {
        Window(
            onCloseRequest = { isAskingToClose = true },
            title = "Important document"
        ) {
            if (isAskingToClose) {
                DialogWindow(
                    onCloseRequest = { isAskingToClose = false },
                    title = "Close without saving?"
                ) {
                    Button(
                        onClick = { isOpen = false }
                    ) {
                        Text("Yes")
                    }
                }
            }
        }
    }
}
"}
建立單一視窗應用程式
對於只有一個頂層視窗的簡單應用程式,你不需要使用包含 Window() 可組合項的完整 application 入口點——singleWindowApplication() 函式將兩者封裝在單次呼叫中:
import androidx.compose.ui.window.singleWindowApplication

fun main() = singleWindowApplication {
    // 視窗內容
}
若需要多個頂層視窗、自訂關閉邏輯或在執行時變更視窗屬性,請在 application 入口點中使用 Window() 可組合項。
管理視窗狀態
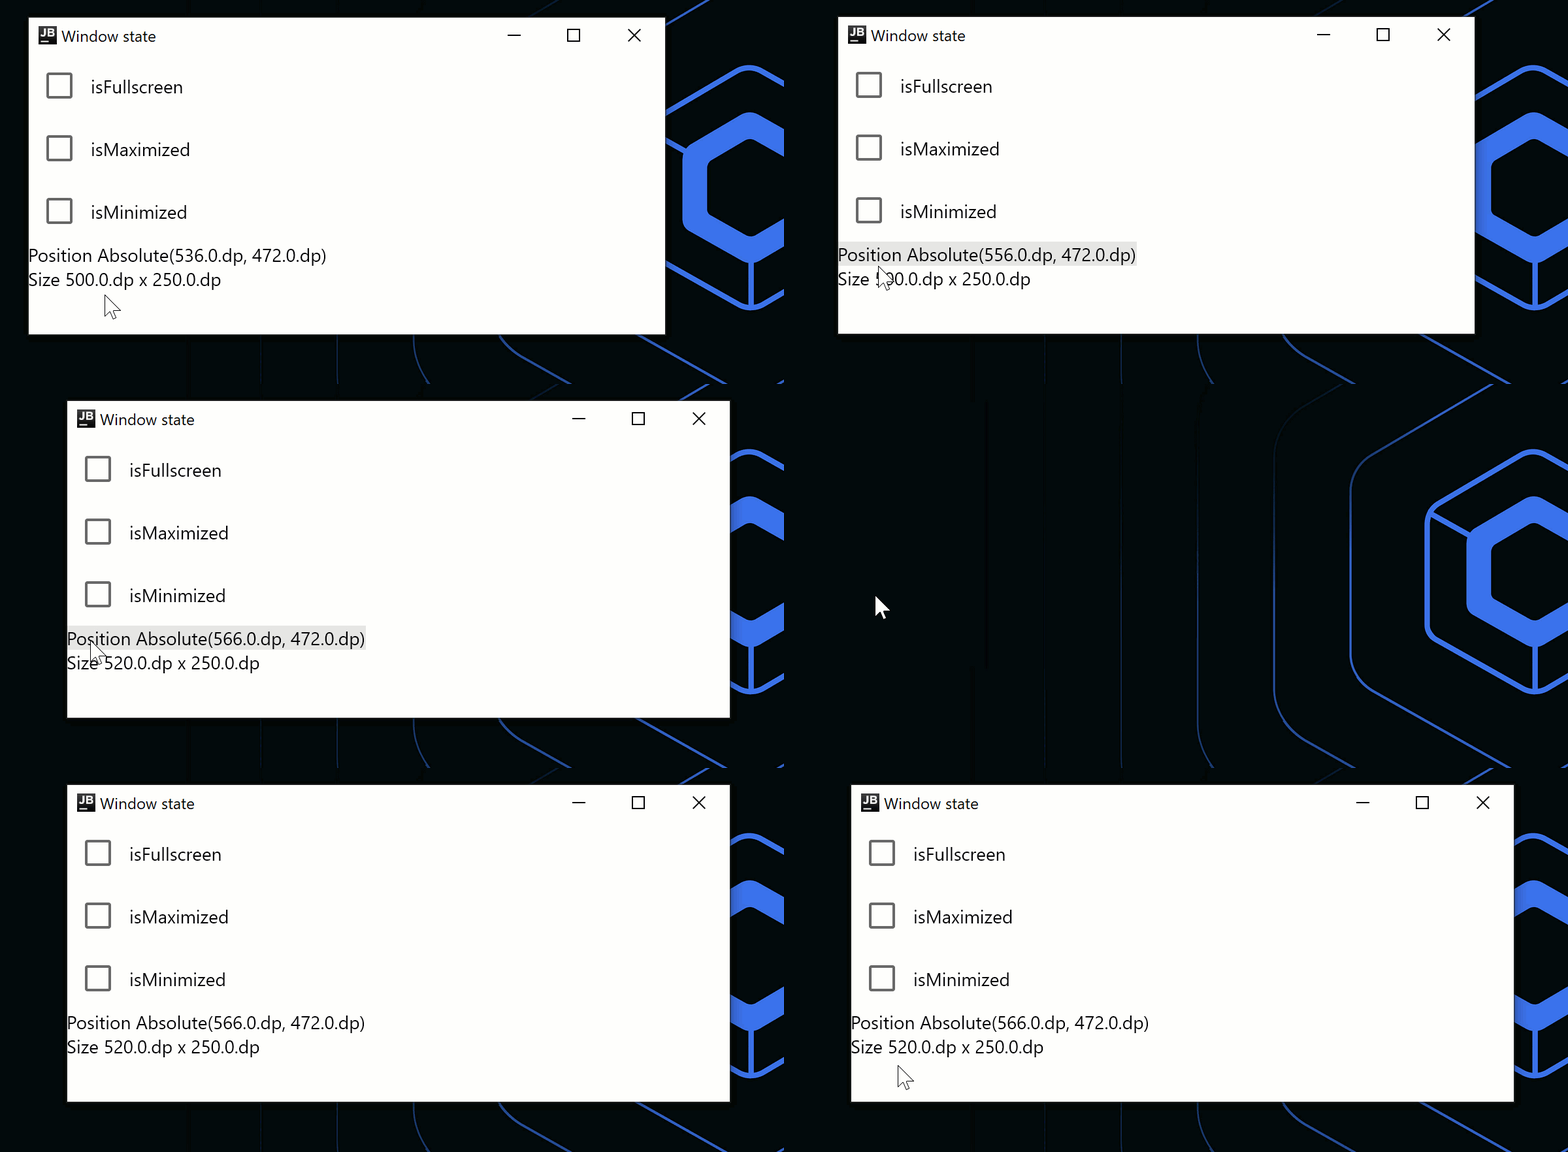
WindowState 類別持有視窗配置、當前位置和大小。 配置屬性允許你指定視窗在螢幕上的放置方式: 浮動、最大化/最小化或全螢幕。 狀態的任何變更都會觸發自動重組。要變更視窗狀態,請使用回呼或在可組合項中觀察它:
import androidx.compose.foundation.clickable
import androidx.compose.foundation.layout.Column
import androidx.compose.foundation.layout.Row
import androidx.compose.material.Checkbox
import androidx.compose.material.Text
import androidx.compose.ui.Alignment
import androidx.compose.ui.Modifier
import androidx.compose.ui.unit.dp
import androidx.compose.ui.window.Window
import androidx.compose.ui.window.WindowPlacement
import androidx.compose.ui.window.WindowPosition
import androidx.compose.ui.window.application
import androidx.compose.ui.window.rememberWindowState

fun main() = application {
    val state = rememberWindowState(placement = WindowPlacement.Maximized)

    Window(onCloseRequest = ::exitApplication, state, title = "Window state") {
        Column {
            Row(verticalAlignment = Alignment.CenterVertically) {
                Checkbox(
                    state.placement == WindowPlacement.Fullscreen,
                    {
                        state.placement = if (it) {
                            WindowPlacement.Fullscreen
                        } else {
                            WindowPlacement.Floating
                        }
                    }
                )
                Text("isFullscreen")
            }

            Row(verticalAlignment = Alignment.CenterVertically) {
                Checkbox(
                    state.placement == WindowPlacement.Maximized,
                    {
                        state.placement = if (it) {
                            WindowPlacement.Maximized
                        } else {
                            WindowPlacement.Floating
                        }
                    }
                )
                Text("isMaximized")
            }

            Row(verticalAlignment = Alignment.CenterVertically) {
                Checkbox(state.isMinimized, { state.isMinimized = !state.isMinimized })
                Text("isMinimized")
            }

            Text(
                "Position ${state.position}",
                Modifier.clickable {
                    val position = state.position
                    if (position is WindowPosition.Absolute) {
                        state.position = position.copy(x = state.position.x + 10.dp)
                    }
                }
            )

            Text(
                "Size ${state.size}",
                Modifier.clickable {
                    state.size = state.size.copy(width = state.size.width + 10.dp)
                }
            )
        }
    }
}
自適應視窗大小以符合其內容
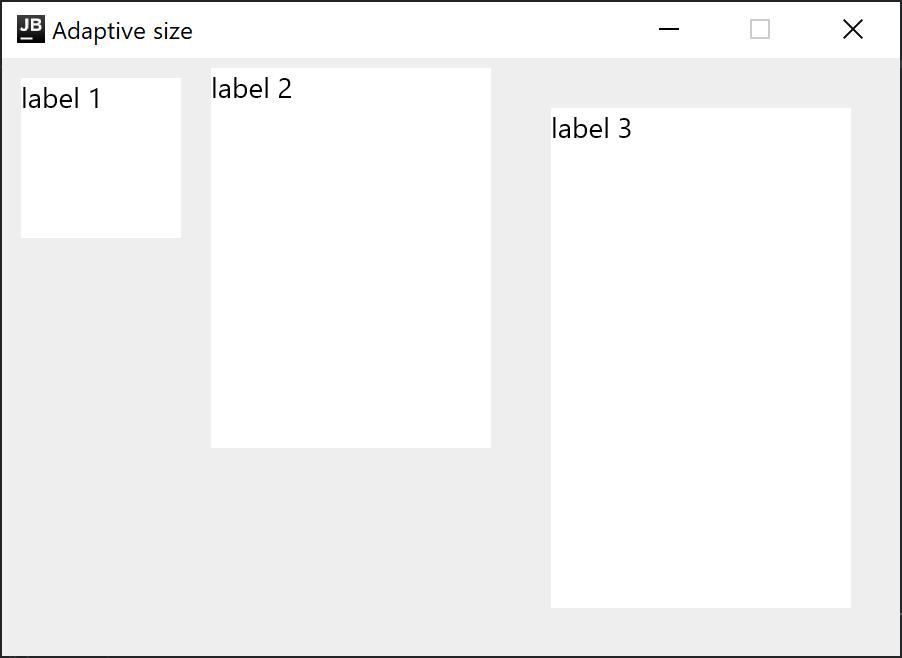
若要根據視窗內容調整大小而無需預先提供維度,請將視窗的一個或兩個維度設定為 Dp.Unspecified。 Compose Multiplatform 會自動調整初始視窗大小以符合你的內容:
import androidx.compose.foundation.background
import androidx.compose.foundation.layout.Column
import androidx.compose.foundation.layout.Row
import androidx.compose.foundation.layout.padding
import androidx.compose.foundation.layout.size
import androidx.compose.material.Text
import androidx.compose.ui.Modifier
import androidx.compose.ui.graphics.Color
import androidx.compose.ui.unit.Dp
import androidx.compose.ui.unit.dp
import androidx.compose.ui.window.Window
import androidx.compose.ui.window.application
import androidx.compose.ui.window.rememberWindowState

fun main() = application {
    Window(
        onCloseRequest = ::exitApplication,
        state = rememberWindowState(width = Dp.Unspecified, height = Dp.Unspecified),
        title = "Adaptive size",
        resizable = false
    ) {
        Column(Modifier.background(Color(0xFFEEEEEE))) {
            Row {
                Text("label 1", Modifier.size(100.dp, 100.dp).padding(10.dp).background(Color.White))
                Text("label 2", Modifier.size(150.dp, 200.dp).padding(5.dp).background(Color.White))
                Text("label 3", Modifier.size(200.dp, 300.dp).padding(25.dp).background(Color.White))
            }
        }
    }
}
監聽狀態變更
如果你需要對狀態變更做出反應,並將值傳送到應用程式的非可組合部分(例如將其寫入資料庫),可以使用 snapshotFlow() 函式。 此函式會擷取可組合項狀態的當前值。
import androidx.compose.runtime.LaunchedEffect
import androidx.compose.runtime.snapshotFlow
import androidx.compose.ui.unit.DpSize
import androidx.compose.ui.window.Window
import androidx.compose.ui.window.WindowPosition
import androidx.compose.ui.window.application
import androidx.compose.ui.window.rememberWindowState
import kotlinx.coroutines.flow.filter
import kotlinx.coroutines.flow.launchIn
import kotlinx.coroutines.flow.onEach

fun main() = application {
    val state = rememberWindowState()

    Window(onCloseRequest = ::exitApplication, state) {
        LaunchedEffect(state) {
            snapshotFlow { state.size }
                .onEach(::onWindowResize)
                .launchIn(this)

            snapshotFlow { state.position }
                .filter { it.isSpecified }
                .onEach(::onWindowRelocate)
                .launchIn(this)
        }
    }
}

private fun onWindowResize(size: DpSize) {
    println("onWindowResize $size")
}

private fun onWindowRelocate(position: WindowPosition) {
    println("onWindowRelocate $position")
}
.onEach(::onWindowResize)"}
管理多個視窗
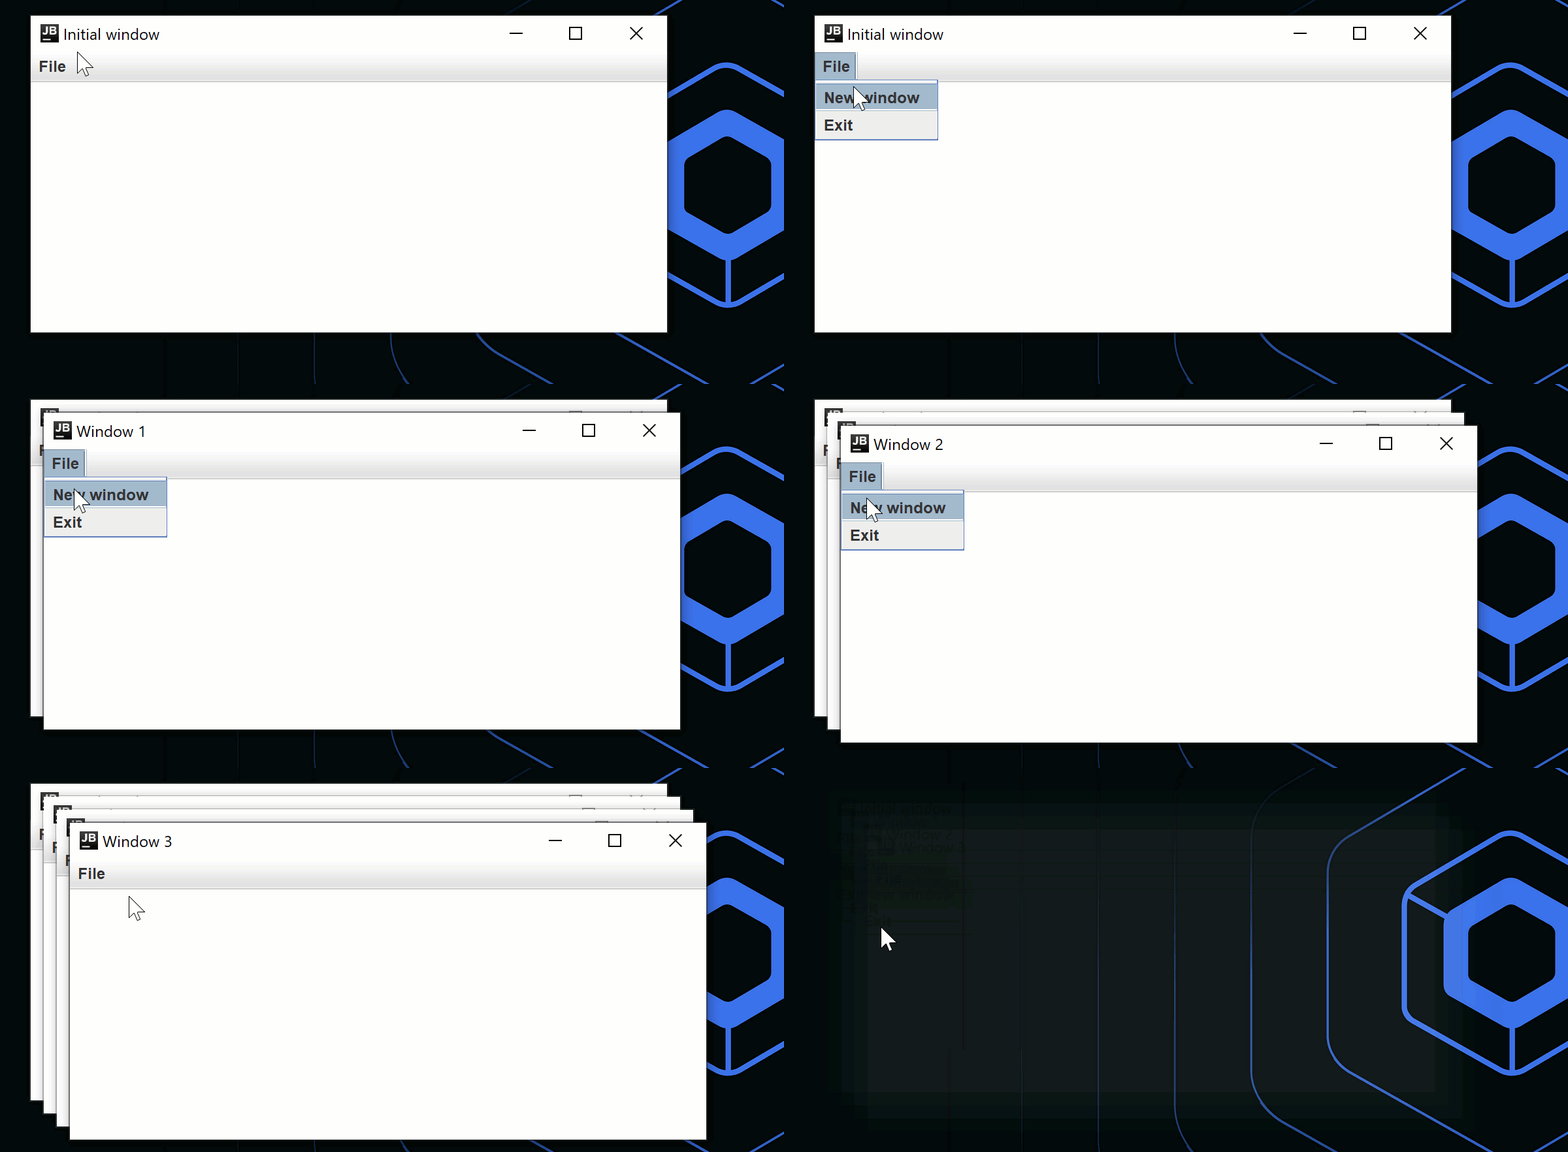
要管理多個視窗,你可以為應用程式狀態建立一個單獨的類別,並根據 mutableStateListOf 的變更來開啟或關閉視窗:
import androidx.compose.runtime.Composable
import androidx.compose.runtime.key
import androidx.compose.runtime.mutableStateListOf
import androidx.compose.runtime.remember
import androidx.compose.ui.window.MenuBar
import androidx.compose.ui.window.Window
import androidx.compose.ui.window.application

fun main() = application {
    val applicationState = remember { MyApplicationState() }

    for (window in applicationState.windows) {
        key(window) {
            MyWindow(window)
        }
    }
}

@Composable
private fun MyWindow(
    state: MyWindowState
) = Window(onCloseRequest = state::close, title = state.title) {
    MenuBar {
        Menu("File") {
            Item("New window", onClick = state.openNewWindow)
            Item("Exit", onClick = state.exit)
        }
    }
}

private class MyApplicationState {
    val windows = mutableStateListOf<MyWindowState>()

    init {
        windows += MyWindowState("Initial window")
    }

    fun openNewWindow() {
        windows += MyWindowState("Window ${windows.size}")
    }

    fun exit() {
        windows.clear()
    }

    private fun MyWindowState(
        title: String
    ) = MyWindowState(
        title,
        openNewWindow = ::openNewWindow,
        exit = ::exit,
        windows::remove
    )
}

private class MyWindowState(
    val title: String,
    val openNewWindow: () -> Unit,
    val exit: () -> Unit,
    private val close: (MyWindowState) -> Unit
) {
    fun close() = close(this)
}
如需更複雜的範例,請參閱 Code Viewer 範例。
顯示對話方塊
你可以使用 DialogWindow() 可組合項來顯示一個具有其專屬標題列的獨立作業系統級視窗。 這對於確認、檔案選取器或任何使用者在繼續之前必須完成的互動非常有用。
你可以使用實驗性的 modalityType 參數來控制對話方塊是否封鎖與其他視窗的互動。 將其設定為 DialogModalityType 值之一:
Modeless不會封鎖任何其他視窗。DocumentModal會封鎖父級頂層視窗以及與其連結的任何其他視窗,但對話方塊自身的子視窗除外。ApplicationModal會封鎖同一應用程式中的所有其他視窗。
對於保留在當前視窗內部的重疊 UI(下拉式選單、工具提示和自訂重疊層),請使用多平台 Popup() 可組合項。
下方的程式碼範例結合了一個常規視窗與一個 ApplicationModal 對話方塊:
import androidx.compose.foundation.layout.Box
import androidx.compose.foundation.layout.fillMaxSize
import androidx.compose.material.Button
import androidx.compose.material.Text
import androidx.compose.runtime.getValue
import androidx.compose.runtime.mutableStateOf
import androidx.compose.runtime.remember
import androidx.compose.runtime.setValue
import androidx.compose.ui.Alignment
import androidx.compose.ui.Modifier
import androidx.compose.ui.window.DialogWindow
import androidx.compose.ui.window.Window
import androidx.compose.ui.window.WindowPosition
import androidx.compose.ui.window.application
import androidx.compose.ui.window.rememberDialogState
import androidx.compose.ui.window.DialogModalityType
import androidx.compose.ui.ExperimentalComposeUiApi

// 啟用實驗性 modalityType
@OptIn(ExperimentalComposeUiApi::class)
fun main() = application {
    Window(
        onCloseRequest = ::exitApplication,
        title = "Main window"
    ) {
        var isDialogOpen by remember { mutableStateOf(false) }

        Button(onClick = { isDialogOpen = true }) {
            Text(text = "Open dialog")
        }

        if (isDialogOpen) {
            DialogWindow(
                onCloseRequest = { isDialogOpen = false },
                state = rememberDialogState(position = WindowPosition(Alignment.Center)),
                title = "Dialog",
                modalityType = DialogModalityType.ApplicationModal
            ) {
                Box(contentAlignment = Alignment.Center, modifier = Modifier.fillMaxSize()) {
                    Text("This is a dialog")
                }
            }
        }
    }
}
"}
將視窗隱藏至系統匣
預設情況下,關閉視窗會結束應用程式。若要改為將視窗隱藏至系統匣或功能表列, 你可以攔截 onCloseRequest 來變更視窗的可見性狀態。
在下方的範例中,關閉視窗會將 isVisible 設定為 false, 這會隱藏視窗並顯示系統匣圖示。 點擊系統匣圖示會恢復視窗。
import androidx.compose.material.Text
import androidx.compose.runtime.LaunchedEffect
import androidx.compose.runtime.getValue
import androidx.compose.runtime.mutableStateOf
import androidx.compose.runtime.remember
import androidx.compose.runtime.setValue
import androidx.compose.ui.geometry.Size
import androidx.compose.ui.graphics.Color
import androidx.compose.ui.graphics.drawscope.DrawScope
import androidx.compose.ui.graphics.painter.Painter
import androidx.compose.ui.window.Tray
import androidx.compose.ui.window.Window
import androidx.compose.ui.window.application
import kotlinx.coroutines.delay

fun main() = application {
    var isVisible by remember { mutableStateOf(true) }

    Window(
        // 隱藏視窗而不是關閉應用程式
        onCloseRequest = { isVisible = false },
        visible = isVisible,
        title = "Counter",
    ) {
        var counter by remember { mutableStateOf(0) }
        LaunchedEffect(Unit) {
            while (true) {
                counter++
                delay(1000)
            }
        }
        Text(counter.toString())
    }

    if (!isVisible) {
        Tray(
            TrayIcon,
            tooltip = "Counter",
            onAction = { isVisible = true },
            menu = {
                Item("Exit", onClick = ::exitApplication)
            },
        )
    }
}

object TrayIcon : Painter() {
    override val intrinsicSize = Size(256f, 256f)

    override fun DrawScope.onDraw() {
        drawOval(Color(0xFFFFA500))
    }
}
,"}

使視窗區域可拖曳
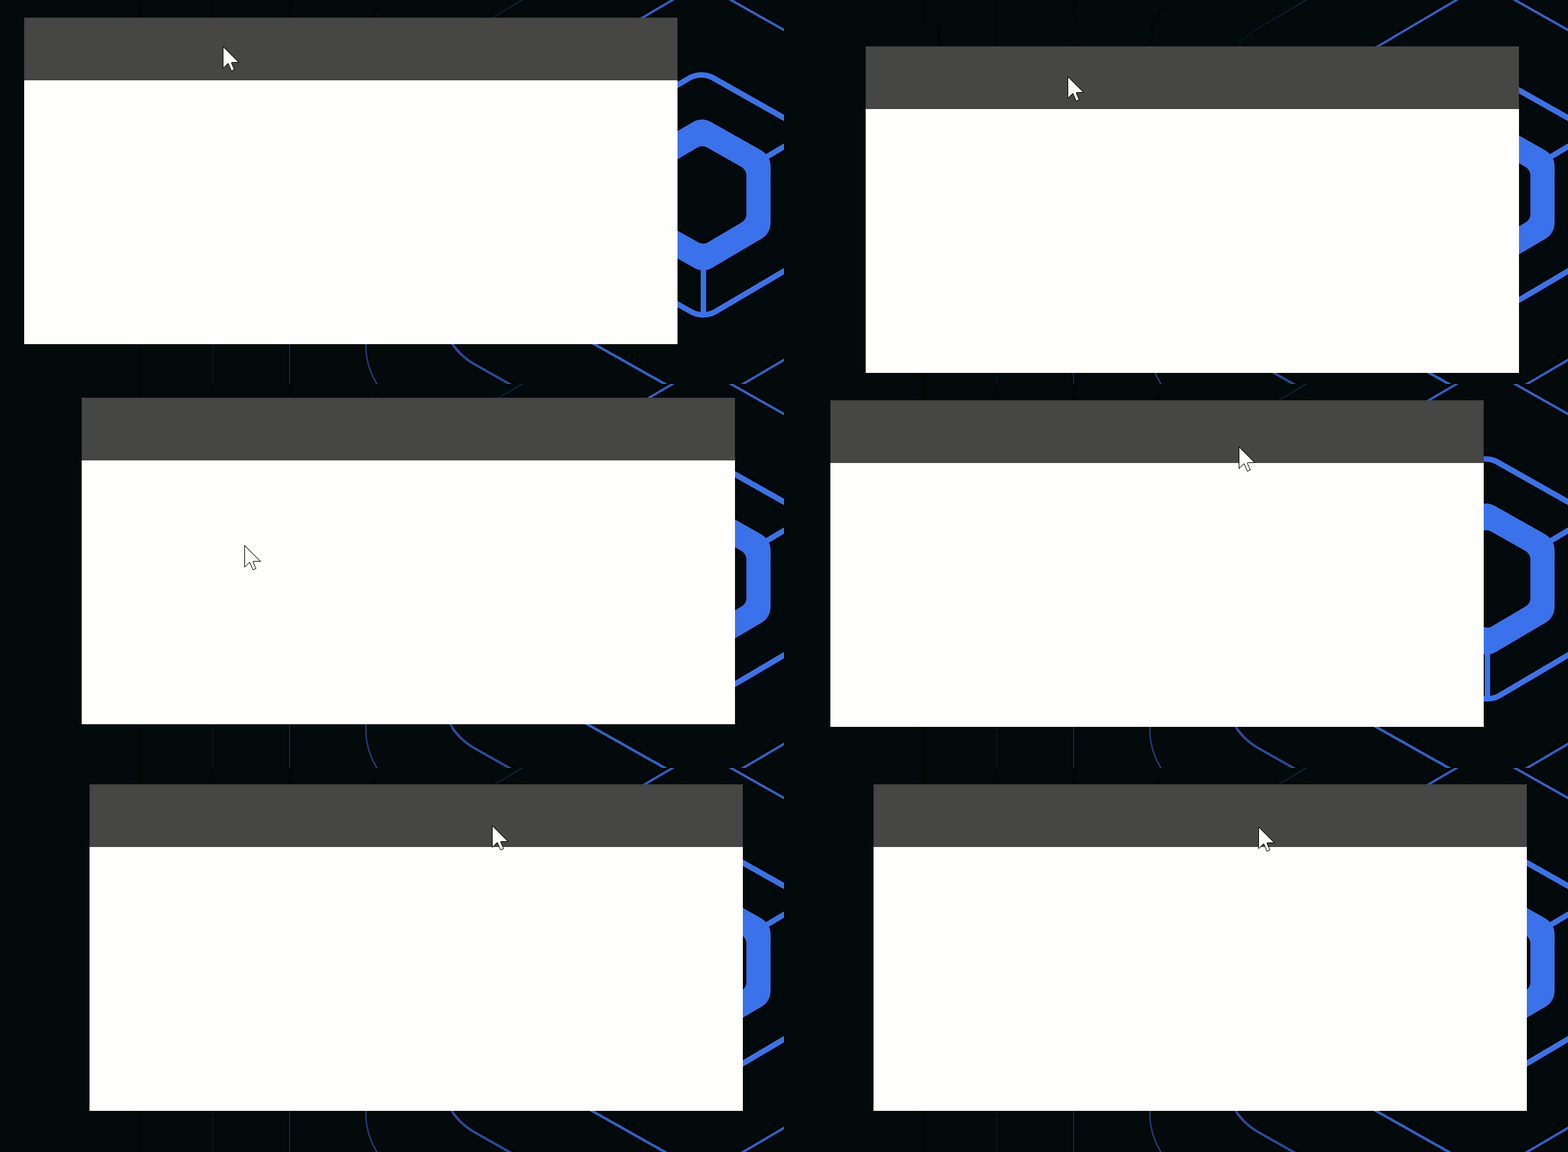
若要為無裝飾視窗新增自訂的可拖曳標題列,或使整個視窗可拖曳,你可以使用 WindowDraggableArea() 可組合項:
import androidx.compose.foundation.background
import androidx.compose.foundation.layout.Box
import androidx.compose.foundation.layout.fillMaxWidth
import androidx.compose.foundation.layout.height
import androidx.compose.foundation.window.WindowDraggableArea
import androidx.compose.ui.Modifier
import androidx.compose.ui.graphics.Color
import androidx.compose.ui.unit.dp
import androidx.compose.ui.window.Window
import androidx.compose.ui.window.application

fun main() = application {
    Window(onCloseRequest = ::exitApplication, undecorated = true) {
        WindowDraggableArea {
            Box(Modifier.fillMaxWidth().height(48.dp).background(Color.DarkGray))
        }
    }
}
"}
WindowDraggableArea() 僅能在 singleWindowApplication()、Window() 和 DialogWindow() 可組合項中使用。若要在另一個可組合函式中呼叫它,請使用 WindowScope 作為接收者作用域:
import androidx.compose.foundation.background
import androidx.compose.foundation.layout.Box
import androidx.compose.foundation.layout.fillMaxWidth
import androidx.compose.foundation.layout.height
import androidx.compose.foundation.window.WindowDraggableArea
import androidx.compose.runtime.Composable
import androidx.compose.ui.Modifier
import androidx.compose.ui.graphics.Color
import androidx.compose.ui.unit.dp
import androidx.compose.ui.window.Window
import androidx.compose.ui.window.WindowScope
import androidx.compose.ui.window.application

fun main() = application {
    Window(onCloseRequest = ::exitApplication, undecorated = true) {
        AppWindowTitleBar()
    }
}

@Composable
private fun WindowScope.AppWindowTitleBar() = WindowDraggableArea {
    Box(Modifier.fillMaxWidth().height(48.dp).background(Color.DarkGray))
}
建立透明視窗
若要建立透明視窗,請將兩個參數傳遞給 Window() 函式:transparent=true 和 undecorated=true。 視窗必須是無裝飾的,因為透明視窗無法使用裝飾。
下方的程式碼範例示範了如何結合多個可組合項來建立具有圓角的透明視窗:
import androidx.compose.foundation.layout.fillMaxSize
import androidx.compose.foundation.layout.padding
import androidx.compose.foundation.shape.RoundedCornerShape
import androidx.compose.material.Surface
import androidx.compose.runtime.mutableStateOf
import androidx.compose.runtime.remember
import androidx.compose.ui.Modifier
import androidx.compose.ui.draw.shadow
import androidx.compose.ui.graphics.Color
import androidx.compose.ui.unit.dp
import androidx.compose.ui.window.Window
import androidx.compose.ui.window.application
import androidx.compose.material.Text
import androidx.compose.runtime.*

fun main() = application {
    var isOpen by remember { mutableStateOf(true) }
    if (isOpen) {
        Window(
            onCloseRequest = { isOpen = false },
            title = "Transparent Window Example",
            transparent = true,
            // 透明視窗必須是無裝飾的
            undecorated = true,
        ) {
            Surface(
                modifier = Modifier.fillMaxSize().padding(5.dp).shadow(3.dp, RoundedCornerShape(20.dp)),
                color = Color.Transparent,
                // 具有圓角的視窗
                shape = RoundedCornerShape(20.dp)
            ) {
                Text("Hello World!", color = Color.White)
            }
        }
    }
}
使用 Swing 元件
Compose Multiplatform for desktop 在底層使用 Swing,因此你可以直接使用 Swing 建立視窗:
import androidx.compose.ui.awt.ComposeWindow
import java.awt.Dimension
import javax.swing.JFrame
import javax.swing.SwingUtilities

fun main() = SwingUtilities.invokeLater {
    ComposeWindow().apply {
        size = Dimension(300, 300)
        defaultCloseOperation = JFrame.DISPOSE_ON_CLOSE
        setContent {
            // 視窗內容
        }
        isVisible = true
    }
}
你也可以使用 Window() 可組合項的作用域。在下方的程式碼範例中,window 是在 Window() 內部建立的 ComposeWindow:
import androidx.compose.runtime.LaunchedEffect
import androidx.compose.ui.window.singleWindowApplication
import java.awt.datatransfer.DataFlavor
import java.awt.dnd.DnDConstants
import java.awt.dnd.DropTarget
import java.awt.dnd.DropTargetAdapter
import java.awt.dnd.DropTargetDropEvent

fun main() = singleWindowApplication {
    LaunchedEffect(Unit) {
        window.dropTarget = DropTarget().apply {
            addDropTargetListener(object : DropTargetAdapter() {
                override fun drop(event: DropTargetDropEvent) {
                    event.acceptDrop(DnDConstants.ACTION_COPY)
                    val fileName = event.transferable.getTransferData(DataFlavor.javaFileListFlavor)
                    println(fileName)
                }
            })
        }
    }
}
如果你需要使用在 Swing 中實作的對話方塊,可以將其封裝進一個可組合函式中:
import androidx.compose.runtime.Composable
import androidx.compose.runtime.getValue
import androidx.compose.runtime.mutableStateOf
import androidx.compose.runtime.remember
import androidx.compose.runtime.setValue
import androidx.compose.ui.window.AwtWindow
import androidx.compose.ui.window.application
import java.awt.FileDialog
import java.awt.Frame

fun main() = application {
    var isOpen by remember { mutableStateOf(true) }

    if (isOpen) {
        FileDialog(
            onCloseRequest = {
                isOpen = false
                println("Result $it")
            }
        )
    }
}

@Composable
private fun FileDialog(
    parent: Frame? = null,
    onCloseRequest: (result: String?) -> Unit
) = AwtWindow(
    create = {
        object : FileDialog(parent, "Choose a file", LOAD) {
            override fun setVisible(value: Boolean) {
                super.setVisible(value)
                if (value) {
                    onCloseRequest(file)
                }
            }
        }
    },
    dispose = FileDialog::dispose
)
視窗與對話方塊 API v2
從 Compose Multiplatform 1.12.0 開始,重新設計的 WindowState 和 DialogState 類別可在 androidx.compose.ui.window.v2 子套件中使用。
v2 視窗與對話方塊 API 將請求狀態與觀察視窗管理員實際套用的狀態分開。 它還解鎖了以前無法實現的情境,例如根據內容的首選大小調整視窗大小,同時在視窗變大時仍允許內容擴展(透過 fillMaxSize() 等修飾符)。 詳情請參閱 指定大小。
v2 API 與本頁面其餘部分描述的現有 API 並存,因此你可以按照自己的進度遷移各個視窗。
指定與觀察狀態
v2 API 明確將指定期望狀態與觀察實際狀態分開。
要指定視窗的初始狀態,請將提供者傳遞給 rememberWindowState():
import androidx.compose.material.Text
import androidx.compose.ui.ExperimentalComposeUiApi
import androidx.compose.ui.unit.DpSize
import androidx.compose.ui.unit.dp
import androidx.compose.ui.unit.sp
import androidx.compose.ui.window.application
import androidx.compose.ui.window.v2.Window
import androidx.compose.ui.window.v2.WindowBoundsProvider
import androidx.compose.ui.window.v2.WindowPositionProvider
import androidx.compose.ui.window.v2.WindowSizeProvider
import androidx.compose.ui.window.v2.rememberWindowState

@OptIn(ExperimentalComposeUiApi::class)
fun main() = application {
    val windowState = rememberWindowState(
        initialBoundsProvider = WindowBoundsProvider(
            positionProvider = WindowPositionProvider.CenteredOnScreen,
            sizeProvider = WindowSizeProvider.Fixed(DpSize(400.dp, 200.dp))
        )
    )

    Window(
        onCloseRequest = ::exitApplication,
        state = windowState,
    ) {
        Text("Hello, World!", fontSize = 48.sp)
    }
}
要在建立視窗後請求變更狀態,請在 WindowState 上呼叫對應的方法。 你可以直接指定確切的大小和位置:
windowState.requestScreen { defaultScreen }
windowState.requestSize(DpSize(1024.dp, 768.dp))
windowState.requestPosition(DpOffset(100.dp, 100.dp))
若需相對定位或動態計算維度,請使用提供者:
windowState.requestBounds(
    WindowBoundsProvider(
        positionProvider = WindowPositionProvider.CenteredOnScreen,
        sizeProvider = WindowSizeProvider.Fixed(DpSize(1024.dp, 768.dp))
    )
)
套用請求是非同步的。視窗系統可能會調整請求的狀態,且實際狀態稍後可能會發生變化, 例如,當你移動視窗或調整其大小時。 透過 WindowState.screenId 和 WindowState.bounds 觀察視窗的實際狀態:
if (windowState.isInitialized) {
    Text("Current screen: ${windowState.screenId}")
    Text("Current bounds: ${windowState.bounds}")
}
同樣的非同步模型也可透過 DialogState 和 rememberDialogState() 用於對話方塊。
選擇螢幕
你可以透過將 initialScreenProvider 傳遞給 rememberWindowState() 或稍後呼叫 WindowState.requestScreen() 來請求視窗應出現的螢幕。 視窗實際放置的螢幕可透過 WindowState.screenId 觀察。
例如,你可以請求將視窗放置在可用寬度至少為 1024.dp 的螢幕上, 否則回退到預設螢幕:
windowState.requestScreen {
    screens.firstOrNull { it.availableBounds.width >= 1024.dp }
        ?: defaultScreen
}
指定位置
要變更視窗位置,可以將 initialBoundsProvider 傳遞給 rememberWindowState() 或稍後呼叫 WindowState.requestBounds()。 視窗的實際邊界可透過 WindowState.bounds 觀察。
v2 API 使用 WindowPositionProvider 來獲取有關螢幕和父視窗幾何形狀的資訊。
對於標準放置,你可以使用內建屬性:
Default套用作業系統的標準串聯行為。Current保持視窗的當前位置。CenteredOnScreen使視窗在螢幕內置中。CenteredInParentWindow使視窗在其父視窗內置中。
若需更多控制,請使用位置提供者函式:
Absolute()將視窗的起始角放置在指定的x和y座標處。AlignedToScreen()將視窗相對於螢幕對齊,並包含選用的偏移參數。kotlinWindowPositionProvider.AlignedToScreen( alignment = Alignment.Center, offset = DpOffset(x = 16.dp, y = 16.dp) )AlignedToParentWindow()將視窗錨定到父視窗,通常用於對話方塊。kotlinWindowPositionProvider.AlignedToParentWindow( // 錨定到父視窗的起始角 anchor = Alignment.TopStart, // 套用相對於錨點的對齊方式 alignment = Alignment.Center )
指定大小
調整大小也是視窗邊界的一部分,因此它透過相同的 initialBoundsProvider/WindowState.requestBounds() 機制進行配置。
v2 API 使用 WindowSizeProvider 獲取有關螢幕和父視窗大小的資訊,以及 查詢視窗內容以獲取其本有大小 (intrinsic sizes)。
常見的內建選項包括用於特定視窗大小的 Fixed(),以及用於標準 800×600 dp 大小的 Default。
對於自訂大小,WindowSizeProvider() Lambda 可以存取螢幕指標, 對於對話方塊,還可以存取父視窗指標:
WindowSizeProvider {
    val height = parentWindowMetrics!!.bounds.height
    DpSize(300.dp, height)
}
v2 API 實現了一個常見的請求情境: 根據內容的首選大小調整視窗大小,同時在使用者調大視窗時仍允許內容填充視窗。 WindowSizeProvider.Unconstrained 會計算內容的大小,加入視窗內距 (insets), 並將結果限制在可用螢幕大小內。 由於調整大小與佈局是分開的,當使用者調整視窗大小時,使用 fillMaxSize() 的內容仍會擴展以填充視窗。
WindowBoundsProvider(
    positionProvider = WindowPositionProvider.CenteredOnScreen,
    sizeProvider = WindowSizeProvider.Unconstrained
)
v2 版本的 Window() 和 DialogWindow() 可組合項接受 minSize 和 maxSize 參數。 在底層視窗管理員支援的情況下,使用者將無法將視窗調整到超出這些邊界的範圍:
DialogWindow(
    onCloseRequest = { showDialog = false },
    state = dialogState,
    minSize = DpSize(250.dp, 250.dp),
    maxSize = DpSize(500.dp, 500.dp)
) {
    // ...
}
下一步
探索關於 其他桌面元件 的教學。